
Manual Method:
- Best suited for backgrounds that have a lot of different colors and objects in them
- Can be done quickly with enough practice
Step 1
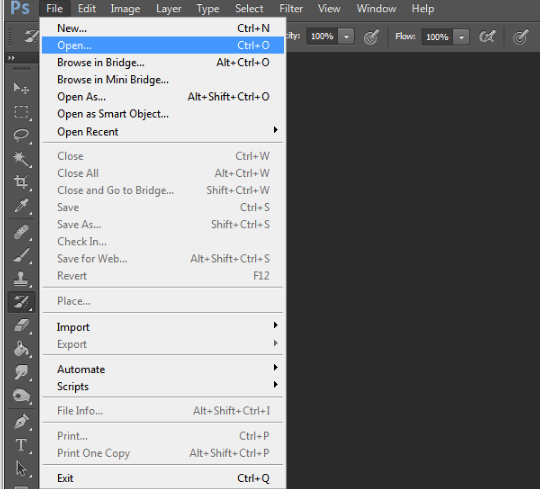
Open your image you want to cut out in Photoshop. Open menu can be accessed quickly by Ctrl + O, or by clicking File>Open at the top left of the screen.
Step 2
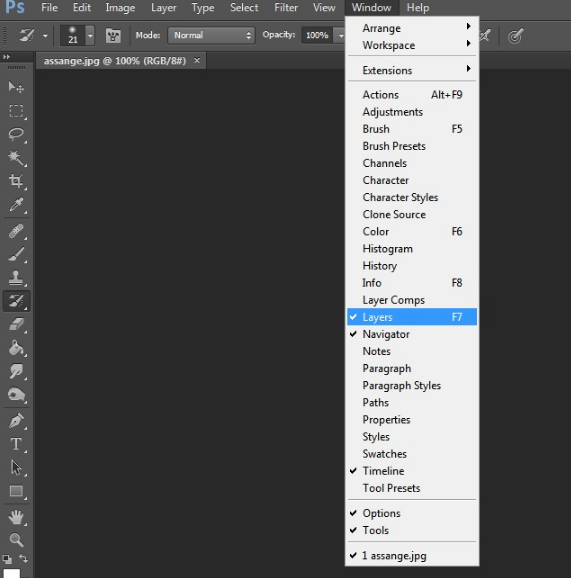
With your image opened, make sure your layers window is opened by either pressing F7 on your keyboard or clicking Window>Layers.
Step 3
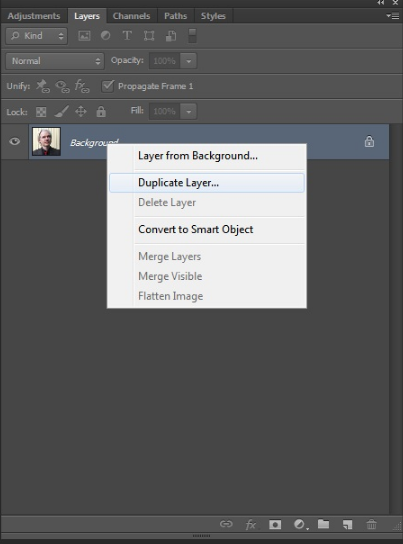
In your layers window right click Background then select “Duplicate Layer” then press ok.
Step 4
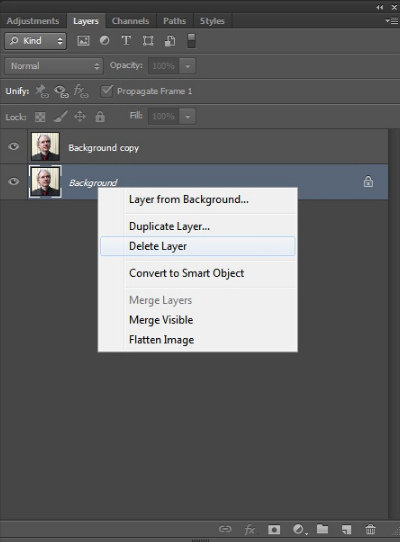
Delete the original layer Background by either selecting it and pressing Del on your keyboard or right clicking it and selecting “Delete Layer”.
Step 5
Select the eraser tool from the left hand side menu.
![]()
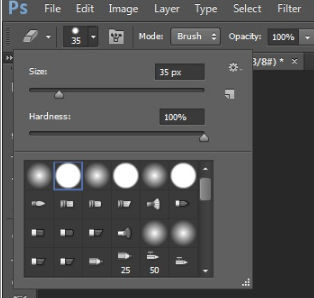
Step 6
Adjust the size and hardness of the eraser by clicking the numeric value on the top menu. Size should be whatever you are comfortable erasing with in relation to how big the image is. Hardness should be set to somewhere between 75 and 100.
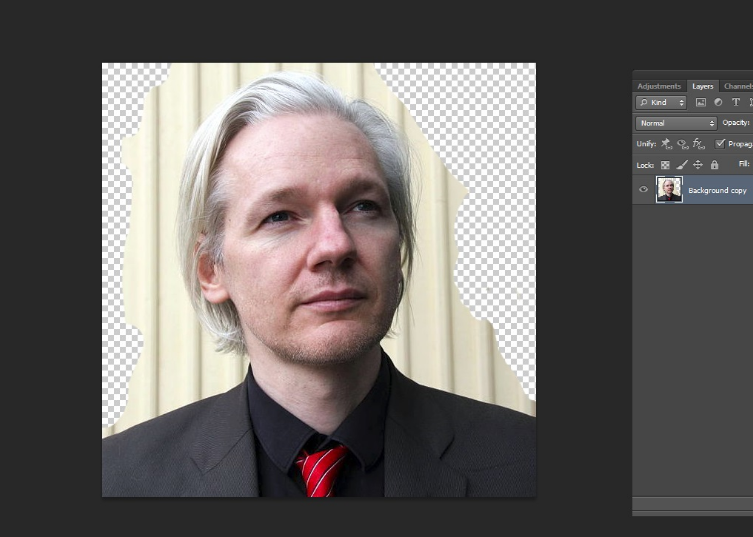
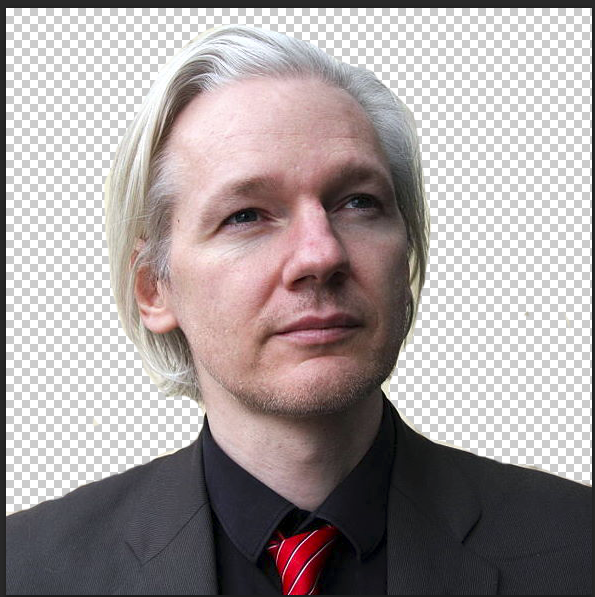
Step 7
Erase the background by simply clicking and dragging your mouse around.
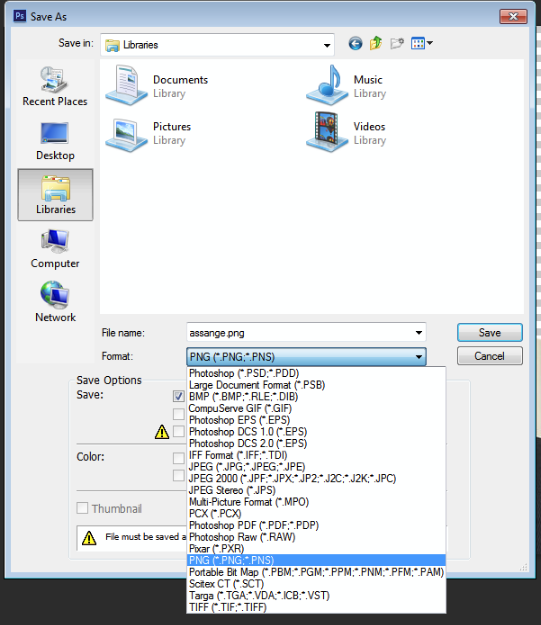
Step 8
When you are done just press Shift+Ctrl+S or click File>Save As. Then under format select PNG so the image retains its transparency.
Tips:
- To see where you need to erase more of the image you can put a colored square underneath the edited layer then delete it when you are finished.
- Press Ctrl and + to zoom in the image and Ctrl and – to zoom out.