
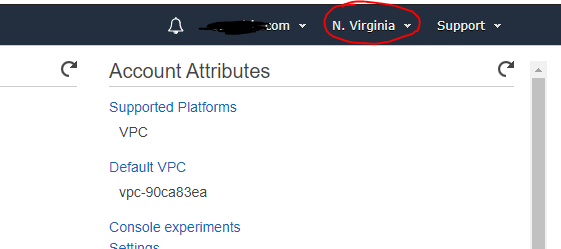
- Make sure you are in the correct region that you want to launch the instances from. You can see this in the top left corner of AWS:
2. Select “EC2” from the AWS Services Section
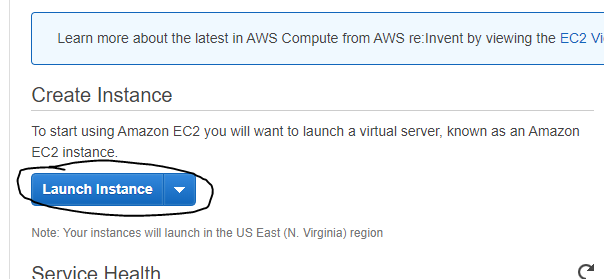
3. Select “Launch Instance” from the EC2 Dashboard
4. In the Quick Start menu select the “Ubuntu Server 18.04 LTS (HVM), SSD Volume Type” 64-bit AMI (Amazon Machine Image)

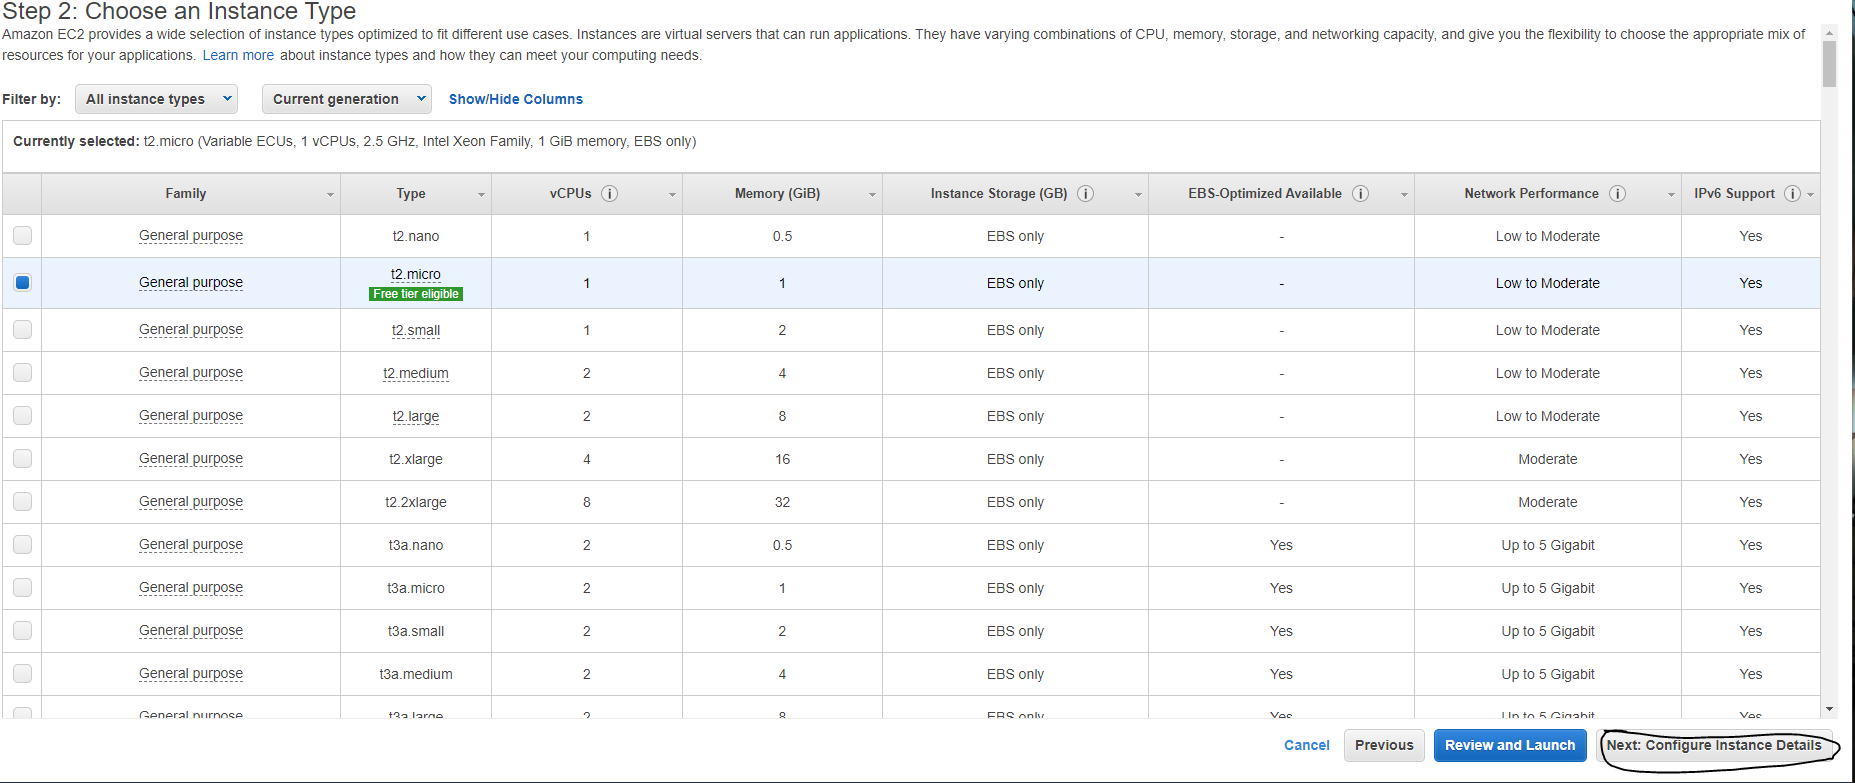
5. Choose an instance type based on the performance you need, here I am selecting t2.micro since it is free tier eligible. Then select “Configure Instance Details”
6. For “configure instance details” leave everything default, but it’s good to look at all the configuration options for future reference.
7. For “Add Storage” you have the default of 8GiBs, you can increase this if you are going to have a lot of media content on your webserver.
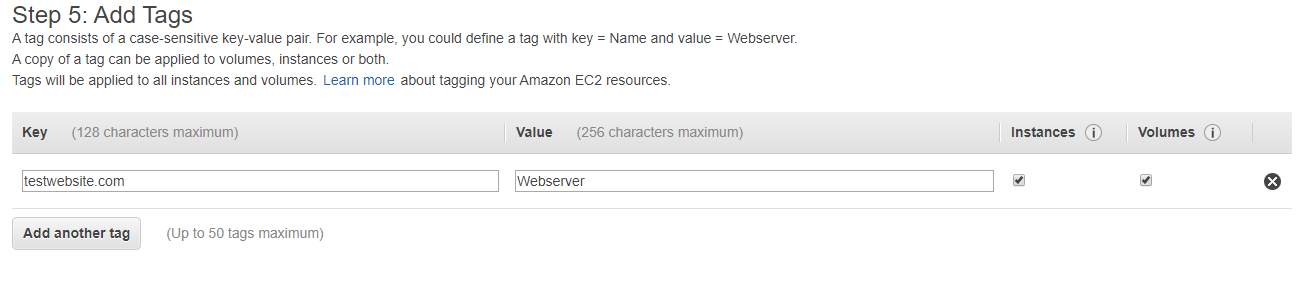
8. For “Add Tags” you don’t need to add anything but it’s good practice to tag your instances
9. The most important part of the wizard is the “Configure Security Group” section which defines access rules to your server. Rename the security group name and give it a description:

The first rule you are going to want is a rule for SSH access. For source select “My IP” so only you can connect by SSH to your webserver.
Then you want a rule for HTTP and HTTPS access, but instead of allowing everyone you are going to want to only allow your IP for now since you want your website to be hardened before allowing unrestricted IP access.

10. Then you want to go to “Review” and just look over your instance details and double check everything. When you are good select “Launch”
11. A popup message will ask you to select an existing key pair or create a new key pair, select “Create a new key pair” from the dropdown menu and give it a name then select “Download Key Pair”
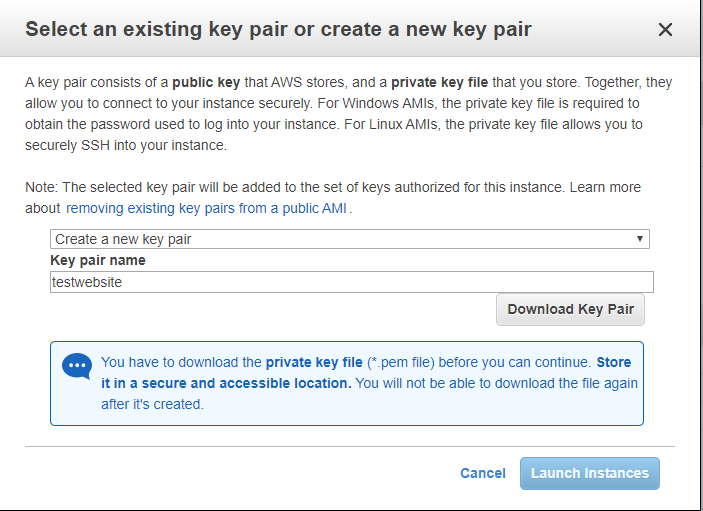
The .pem file that is downloaded is what you will use to connect by SSH to the webserver. With the pem file downloaded you can now launch the instance.
12. You can select “View instances” on the page and it will bring you to your EC2 Instances.
13. From here you can get the IPv4 Public IP from the “Description” section which will be used to access your webserver.
14. Install PuTTY in order to SSH to your webserver: https://the.earth.li/~sgtatham/putty/latest/w64/putty-64bit-0.73-installer.msi
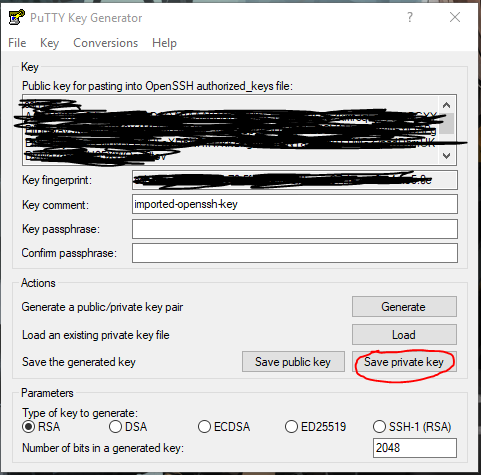
15. Open PuTTYGen which was installed with PuTTY and select conversions -> Import key then select the .pem file you downloaded earlier. Then select “Select Private Key”. This will convert your .pem file into a .ppk file which is used by PuTTY.
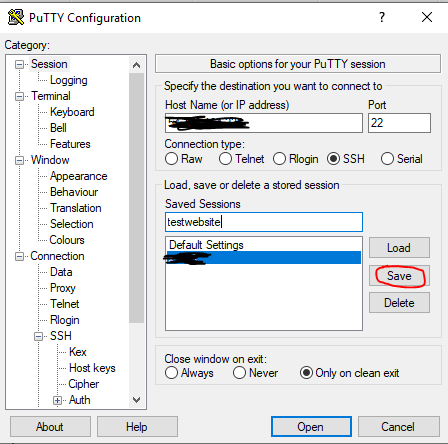
16. Put your public IPv4 address under Host Name then expand SSH and select “Auth”. Select browser under “Private key file for authentication” and select the .ppk file you generated.

17. Go back to the “Session” category in the left pane and put a name for your saved session then select “Save” so you can access save access settings to the server
18. Double click your saved session and a terminal window will appear. It will ask for a username, put in “ubuntu”. You are now logged into your webserver via SSH

19. First thing you are going to want to do is run “sudo apt update && sudo apt upgrade” this will update any out of date packages and upgrade them and any OS patches that may be available. You may get asked if you want to install upgraded package, press “y” then “Enter” to accept them.
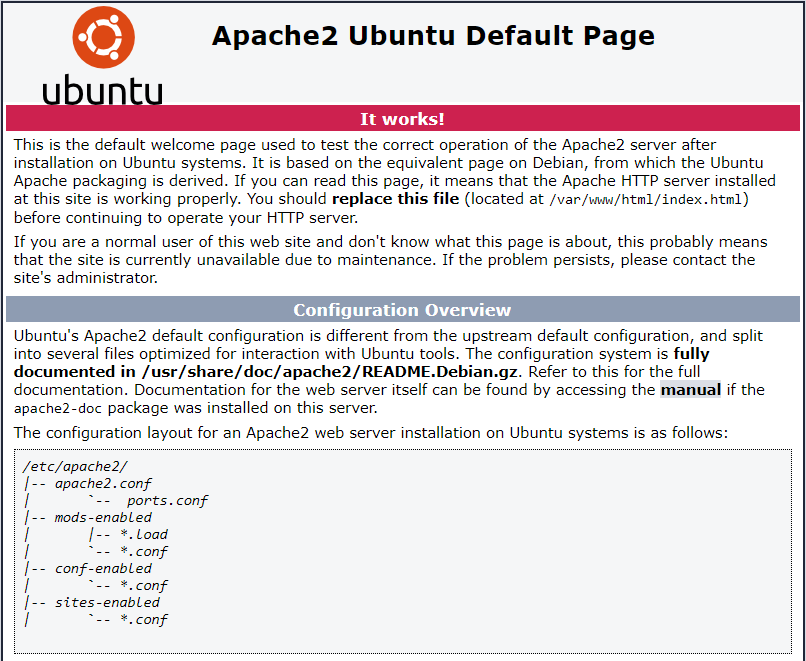
20. To install apache run “sudo apt install apache2”. You can check that apache has successfully installed/running by “sudo systemctl status apache2” and by going http://[public IP of your webserver] you should get the following page:
21. On your webserver create the directory to your website with “sudo mkdir /var/www/[website name]

22. Give ownership of the directory with “sudo chown -R $USER:$USER /var/www/[website name]

23. Create an index.html page in your directory by doing echo test > /var/www/[website name]/index.html
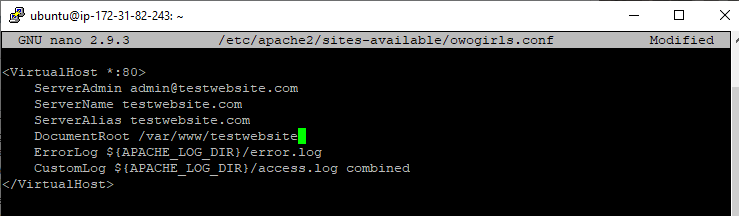
24. Make a virtual host file (this will allow you to run multiple websites off of one webserver) with “sudo nano /etc/apache2/sites-available/[website name].conf”

25. Add in this configuration and save with Ctrl +x then Y and Enter
<VirtualHost *:80>
ServerAdmin [your email]
ServerName [website name]
ServerAlias [website name]
DocumentRoot /var/www/[website name]
ErrorLog ${APACHE_LOG_DIR}/error.log
CustomLog ${APACHE_LOG_DIR}/access.log combined
</VirtualHost>
26. Enable the configuration with sudo a2ensite [website name].conf

27. Disable the default site configuration with sudo a2dissite 000-default.conf
28. Reload apache to get changes with sudo systemctl restart apache2
29. Now you are going to want to get an SSL cert on your website, you can do this with certbot: https://certbot.eff.org/lets-encrypt/ubuntubionic-apache . This requires that you have already set A records with a registrar like Namecheap or Godaddy. It also requires that you change you security group rule in AWS to temporarily allow port 80 access from any IP so certbot can work correctly.
30. Use the following commands:
sudo apt-get update
sudo apt-get install software-properties-common
sudo add-apt-repository universe
sudo add-apt-repository ppa:certbot/certbot
sudo apt-get update
sudo apt-get install certbot python-certbot-apache
sudo certbot –apache
31. You can confirm the SSL cert is working by going to https://websitename.com and making sure the lock displays next to your website in the address bar
32. From here you can start putting content on your website by putting files in the /var/www/websitename directory and when you are ready for website visitors you can go back into AWS and adjust your security group to allow HTTP and HTTPS requests from any IP